7 Common Church Audio Mistakes Volunteers Make
Today, we’re diving into 7 Common Church Audio Mistakes Volunteers Make (And how to fix them)
A great service isn’t just about what people see—it’s about what they hear.
In my experience, I’ve found when church audio is working properly, people don’t notice it. However, many churches rely heavily on volunteers to run their audio systems. This can lead to common mistakes that affect the quality of the service, distract the congregation and worsen the online viewing experience.
The good news is that most audio issues have simple fixes. By understanding these common mistakes and implementing a few best practices, you can dramatically improve sound quality without spending thousands on new equipment.
1. Setting the gain too high
A common mistake audio volunteers make is pushing the gain to the max on every channel to create a more powerful sound, however, when everything is loud, nothing stands out.
For example, if the vocals, drums, and backing tracks are all at maximum volume, the mix quickly becomes muddy. The congregation may hear the sound, but they won’t understand it!
Start with the most important elements first; Lead vocals, Pastor’s microphone, Spoken announcements then build the rest around these three sources.
Mixing is about creating a balance, not volume. Often turning instruments down can create a cleaner sound than turning everything up.
2. Microphone Technique
Even the best microphone cannot compensate for poor microphone technique.
A common issue occurs when speakers hold handheld microphones too far away from their mouths or constantly move them around while speaking. The result is inconsistent volume and poor speech clarity.
Some simple ideas include; hold handheld microphones 5-10cm (2–4 inches) from your mouth; speak directly into the microphone and don’t point microphones at monitors.
Also, ensure that you use the correct capsule (cardioid vs omni-directional), this makes a big difference!
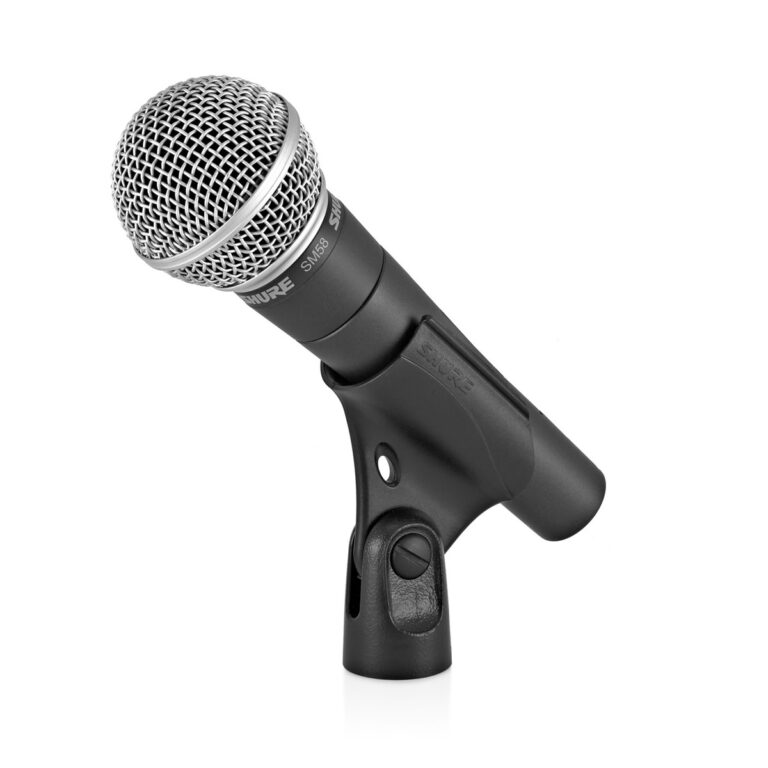
SM58 Mic (Cardioid)
3. Low Batteries
We all do it, forgetting to check the batteries! There is little else as distracting as a mic failing during a song or the sermon.
Many wireless microphones and in-ear monitoring systems use batteries. Yet many churches find battery problems only after the service has started.
Why not create a simple pre-service checklist that includes:
- Checking battery levels.
- Replacing batteries when needed.
- Testing wireless devices before people arrive.
- Keeping spare batteries.
- Using rechargeable ones (massive cost saver!).
Or download the one I made for free!
My church bought a pack of 24 Amazon Basic AA rechargeable batteries, these have lasted us the last year and are still running great
4. Not Setting Up Monitors Properly
Feedback is one of the quickest ways to make a sound system seem unprofessional.
That high-pitched squeal usually happens when sound from a speaker re-enters a microphone and creates a loop. While feedback can occasionally occur unexpectedly, frequent feedback often indicates poor monitor setup.
It’s also important to position microphones and monitor speakers correctly. Good speaker placement and the right mic capsule can prevent many feedback issues before they start.
Try running your monitors slightly lower, the less volume the lower the chance of feedback, the aim is to support the singer and ensure they can hear the music. We use a pair of the Yamaha Stagepass 600bt speakers (our old PA before we upgraded.)
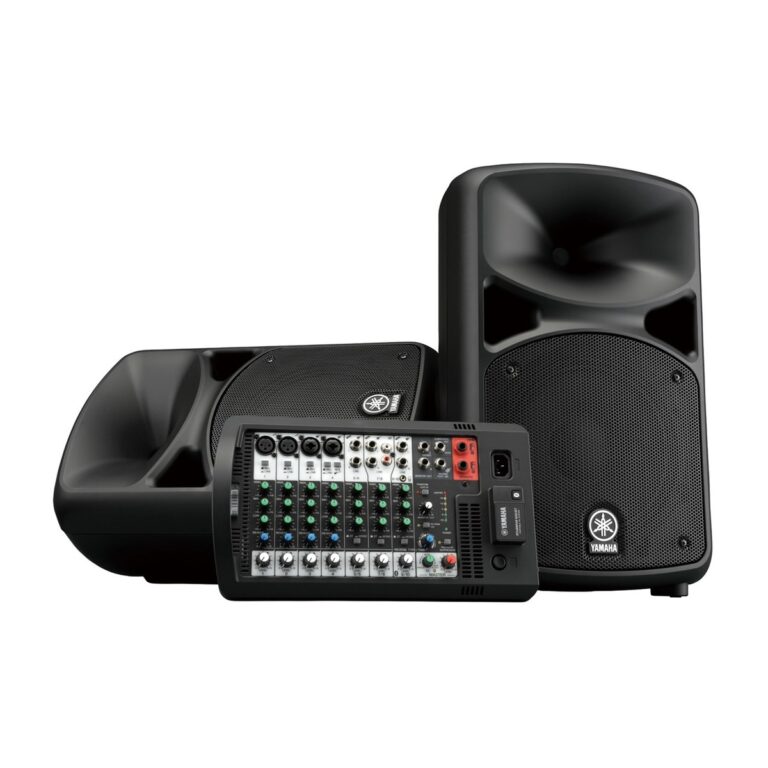
Yamaha 600BT Speakers
5. Mixing with Your Eyes Instead of Your Ears
Modern digital mixing consoles (such as the famous X32 and more modern Behringer Wing) are incredibly powerful. Unfortunately, some volunteers become so focused on what they see on the screen that they stop listening to the actual sound in the room.
While mixing think;
- Can I clearly understand every word?
- Is the worship leader easy to hear?
- Does the mix sound balanced throughout the room?
- Is anything distracting or overwhelming?
Remember that others experience the sound through their ears, not through the mixing console’s display.
6. Sound Checks
Many churches perform only a quick check before the service and assume everything will work perfectly. Unfortunately, audio systems are constantly changing. Cables become loose, batteries die, and equipment settings get changed.
Ensure you have enough time before every service to check all the basics. Are the mics working? Are the speakers plugged in? Even 10-15 minutes is enough! Even experienced teams benefit from a consistent sound-check routine
7. Documentation
Many churches have one experienced audio volunteer who knows exactly how everything works. The problem appears when that person is unavailable.
Without proper documentation and training, new volunteers can feel overwhelmed by the equipment. This can lead to inconsistent audio quality from week to week.
Create clear, simple documentation for you and your team.
Consider including:
- A Setup Order
- A Shutdown Order
- Weekly checklists
- Common problems you have
- Console scene management guidelines
A 10 page system overview is better than none! By using Google Docs you can share it with your whole team.
Regular training sessions can also help volunteers grow in confidence and skill. I recommend churches doing a 30 minute refresher course every 3 months, this can be split into Audio, Video and Lighting (if your church has any)
FAQ
What is the most common audio mistake volunteers make?
The most common mistake I see is not setting gain correctly. This leads to people having to push faders all the way to the limit and still not getting enough volume.
On analog mixers the gain should be set so that the source is hitting 0db (or just under), on digital mixers the gain should be set so that the source is hitting the yellow section of the meter (usually around -16db).
How much training does a church sound volunteer need?
Volunteers can be taught the basics in a few weeks. At this point experience is you best friend, letting them get as many hours on the console as possible. This is where it helps to have some clear documentation for them to read through, if they want to know more.
What is the difference between mic capsules?
There are 3 main types of capsules; Cardioid, Omni-directional, Super-Cardiod.
Cardioid capsules pick up sound from the front (your singer) and reject sound from the back (the monitor), these are useful for live sound.
Omni-directional capsules pick up sound from all directions, these are useful for crowd mics.
Super-cardioid capsules are better at rejecting noise from the side than cardioid, however they do pick up some noise from behind.
About the Author: