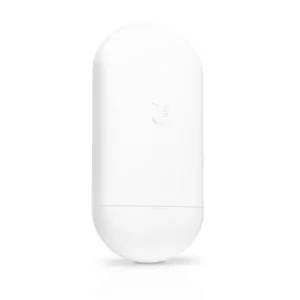
How To Setup Ubiquiti NanoStation 5AC
The Ubiquiti NanoStation 5AC is a powerhouse in the world of wireless networking, providing high-speed connections and long-range coverage. Setting up this advanced device might seem daunting, but with the right guidance, it becomes a straightforward process. In this guide, we will walk you through the steps to set up your Ubiquiti NanoStation 5AC, ensuring you harness its full potential for your networking needs.
Step 1: Unboxing and Inspection
Begin by unpacking your NanoStation 5AC and inspecting the contents.
You should find the NanoStation unit, a mounting kit, a PoE adapter, a power cord, and an Ethernet cable. Verify that all components are present and undamaged.
Step 2: Mounting the NanoStation 5AC
Select an elevated location with a clear line of sight if you are establishing a point-to-point connection. Use the provided mounting kit to secure the NanoStation, ensuring it is stable and well-aligned for optimal signal reception.
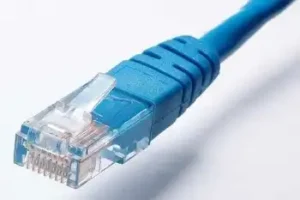
Step 3: Connecting Cables
Connect the Ethernet cable
to the LAN port on the NanoStation and the other end to the PoE adapter. Use a second Ethernet cable to link the PoE adapter to your network switch or router. Plug the power cord into the PoE adapter and a power source. The NanoStation will power on and establish a connection with your network.
Step 4: Accessing the NanoStation 5AC Interface
Open a web browser and enter the default IP address of the NanoStation (usually 192.168.1.20) in the address bar. You will be prompted to enter your username and password. The default credentials are usually “ubnt” for both. Upon successful login, you will gain access to the NanoStation’s web-based interface.
Ad
Step 5: Configuring Basic Settings
Navigate to the basic settings section and configure the NanoStation’s IP address, subnet mask, and gateway to match your existing network configuration. Ensure consistency to enable seamless communication between devices.
Step 6: Wireless Configuration
In the wireless settings section, customize your wireless network by setting a unique SSID (network name). Choose an appropriate security mode like WPA2-AES for a secure connection. Configure the channel width and frequency according to your preferences and local regulations.
Step 7: Advanced Configurations
Explore the advanced settings to fine-tune your NanoStation’s performance. Here, you can adjust transmit power, enable airMAX features, and optimize channel selection. Be cautious while making changes in these settings, as improper configurations might affect the network stability.
Step 8: Final Testing and Optimization
After configuring the NanoStation 5AC, perform thorough testing to ensure a stable connection and optimal performance. Check the signal strength, latency, and data transfer rates to confirm that the setup meets your requirements. If necessary, make further adjustments in the settings to optimize the performance.
By following these steps, you can successfully set up your Ubiquiti NanoStation 5AC and leverage its powerful features for seamless and high-speed wireless networking.
See The Data Sheet Here
View On Ubiquiti Website Here
See All Our Posts Here
Ad
By submitting a comment and filling out your information including email you agree to be contacted with info and news. Jam Wireless is not responsible for anything posted in a comment we do try to maintain them as best we can!
Hope you enjoyed it! This should provide a high speed reliable connection where you need it! Please leave a comment!